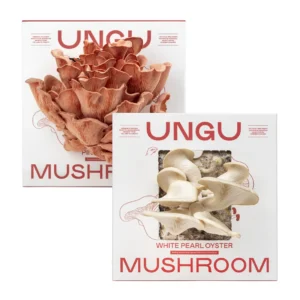
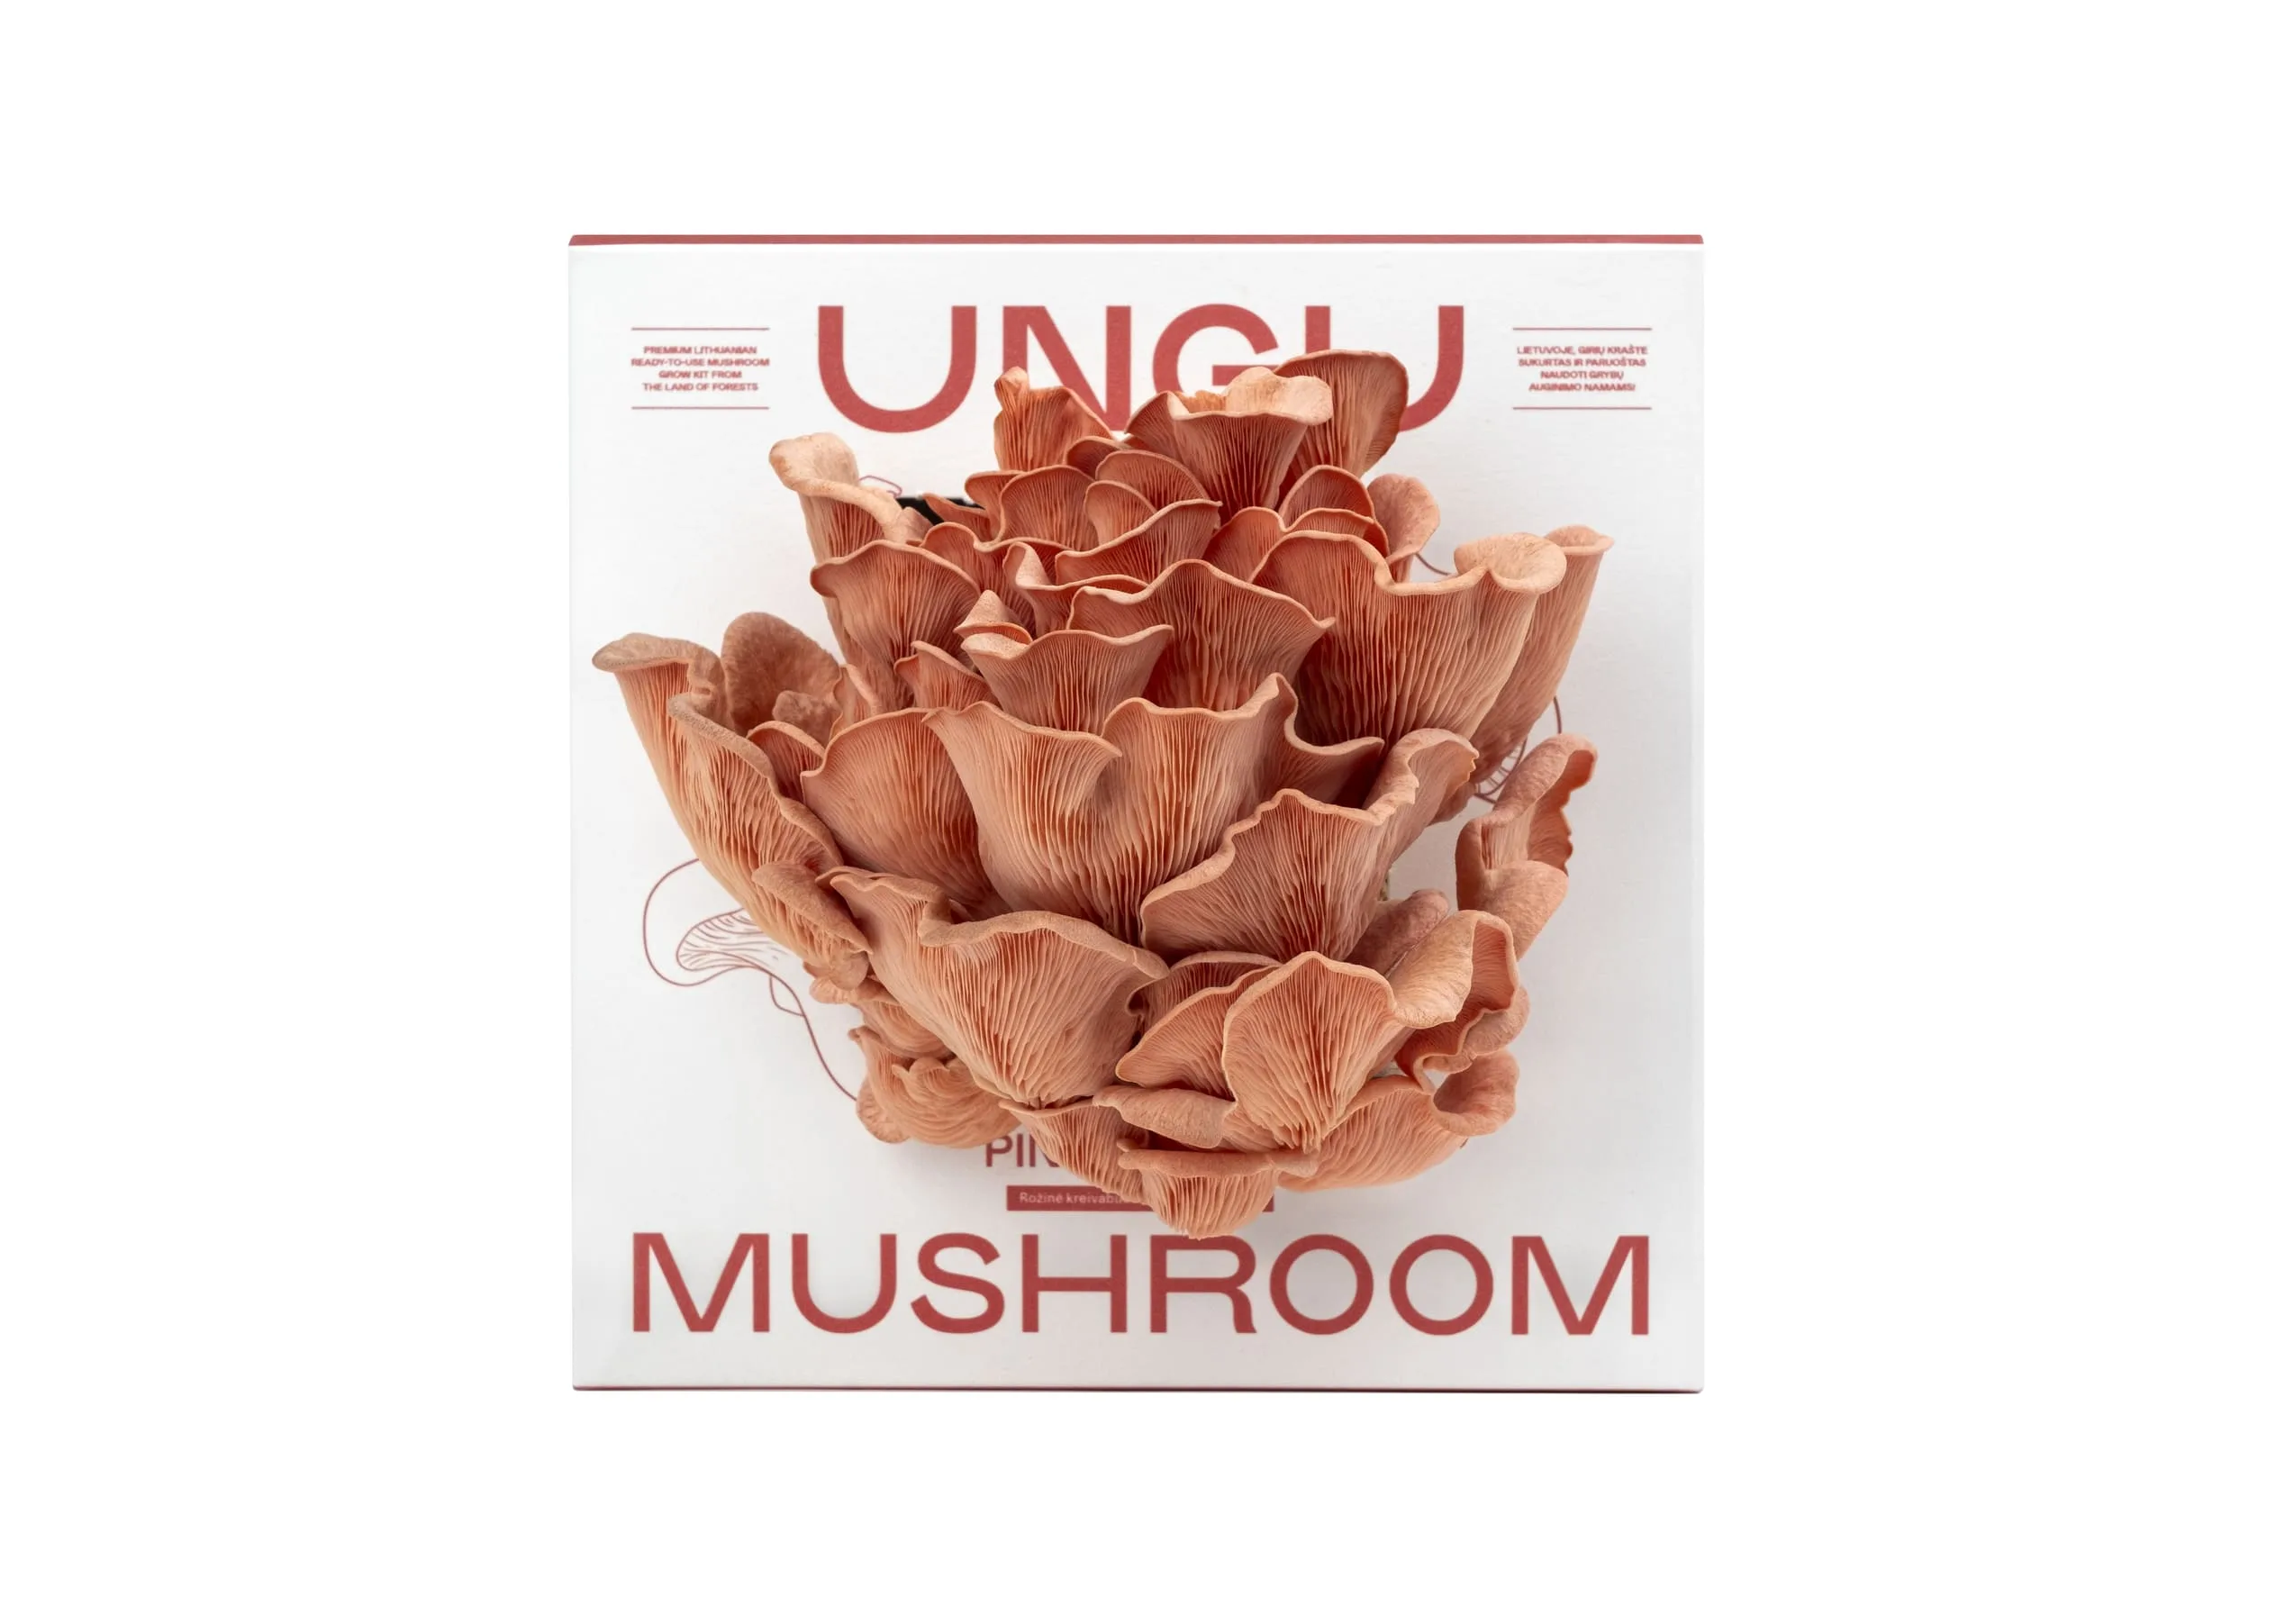

Pink Oyster Grow Kit | SIZE M
29,99 €
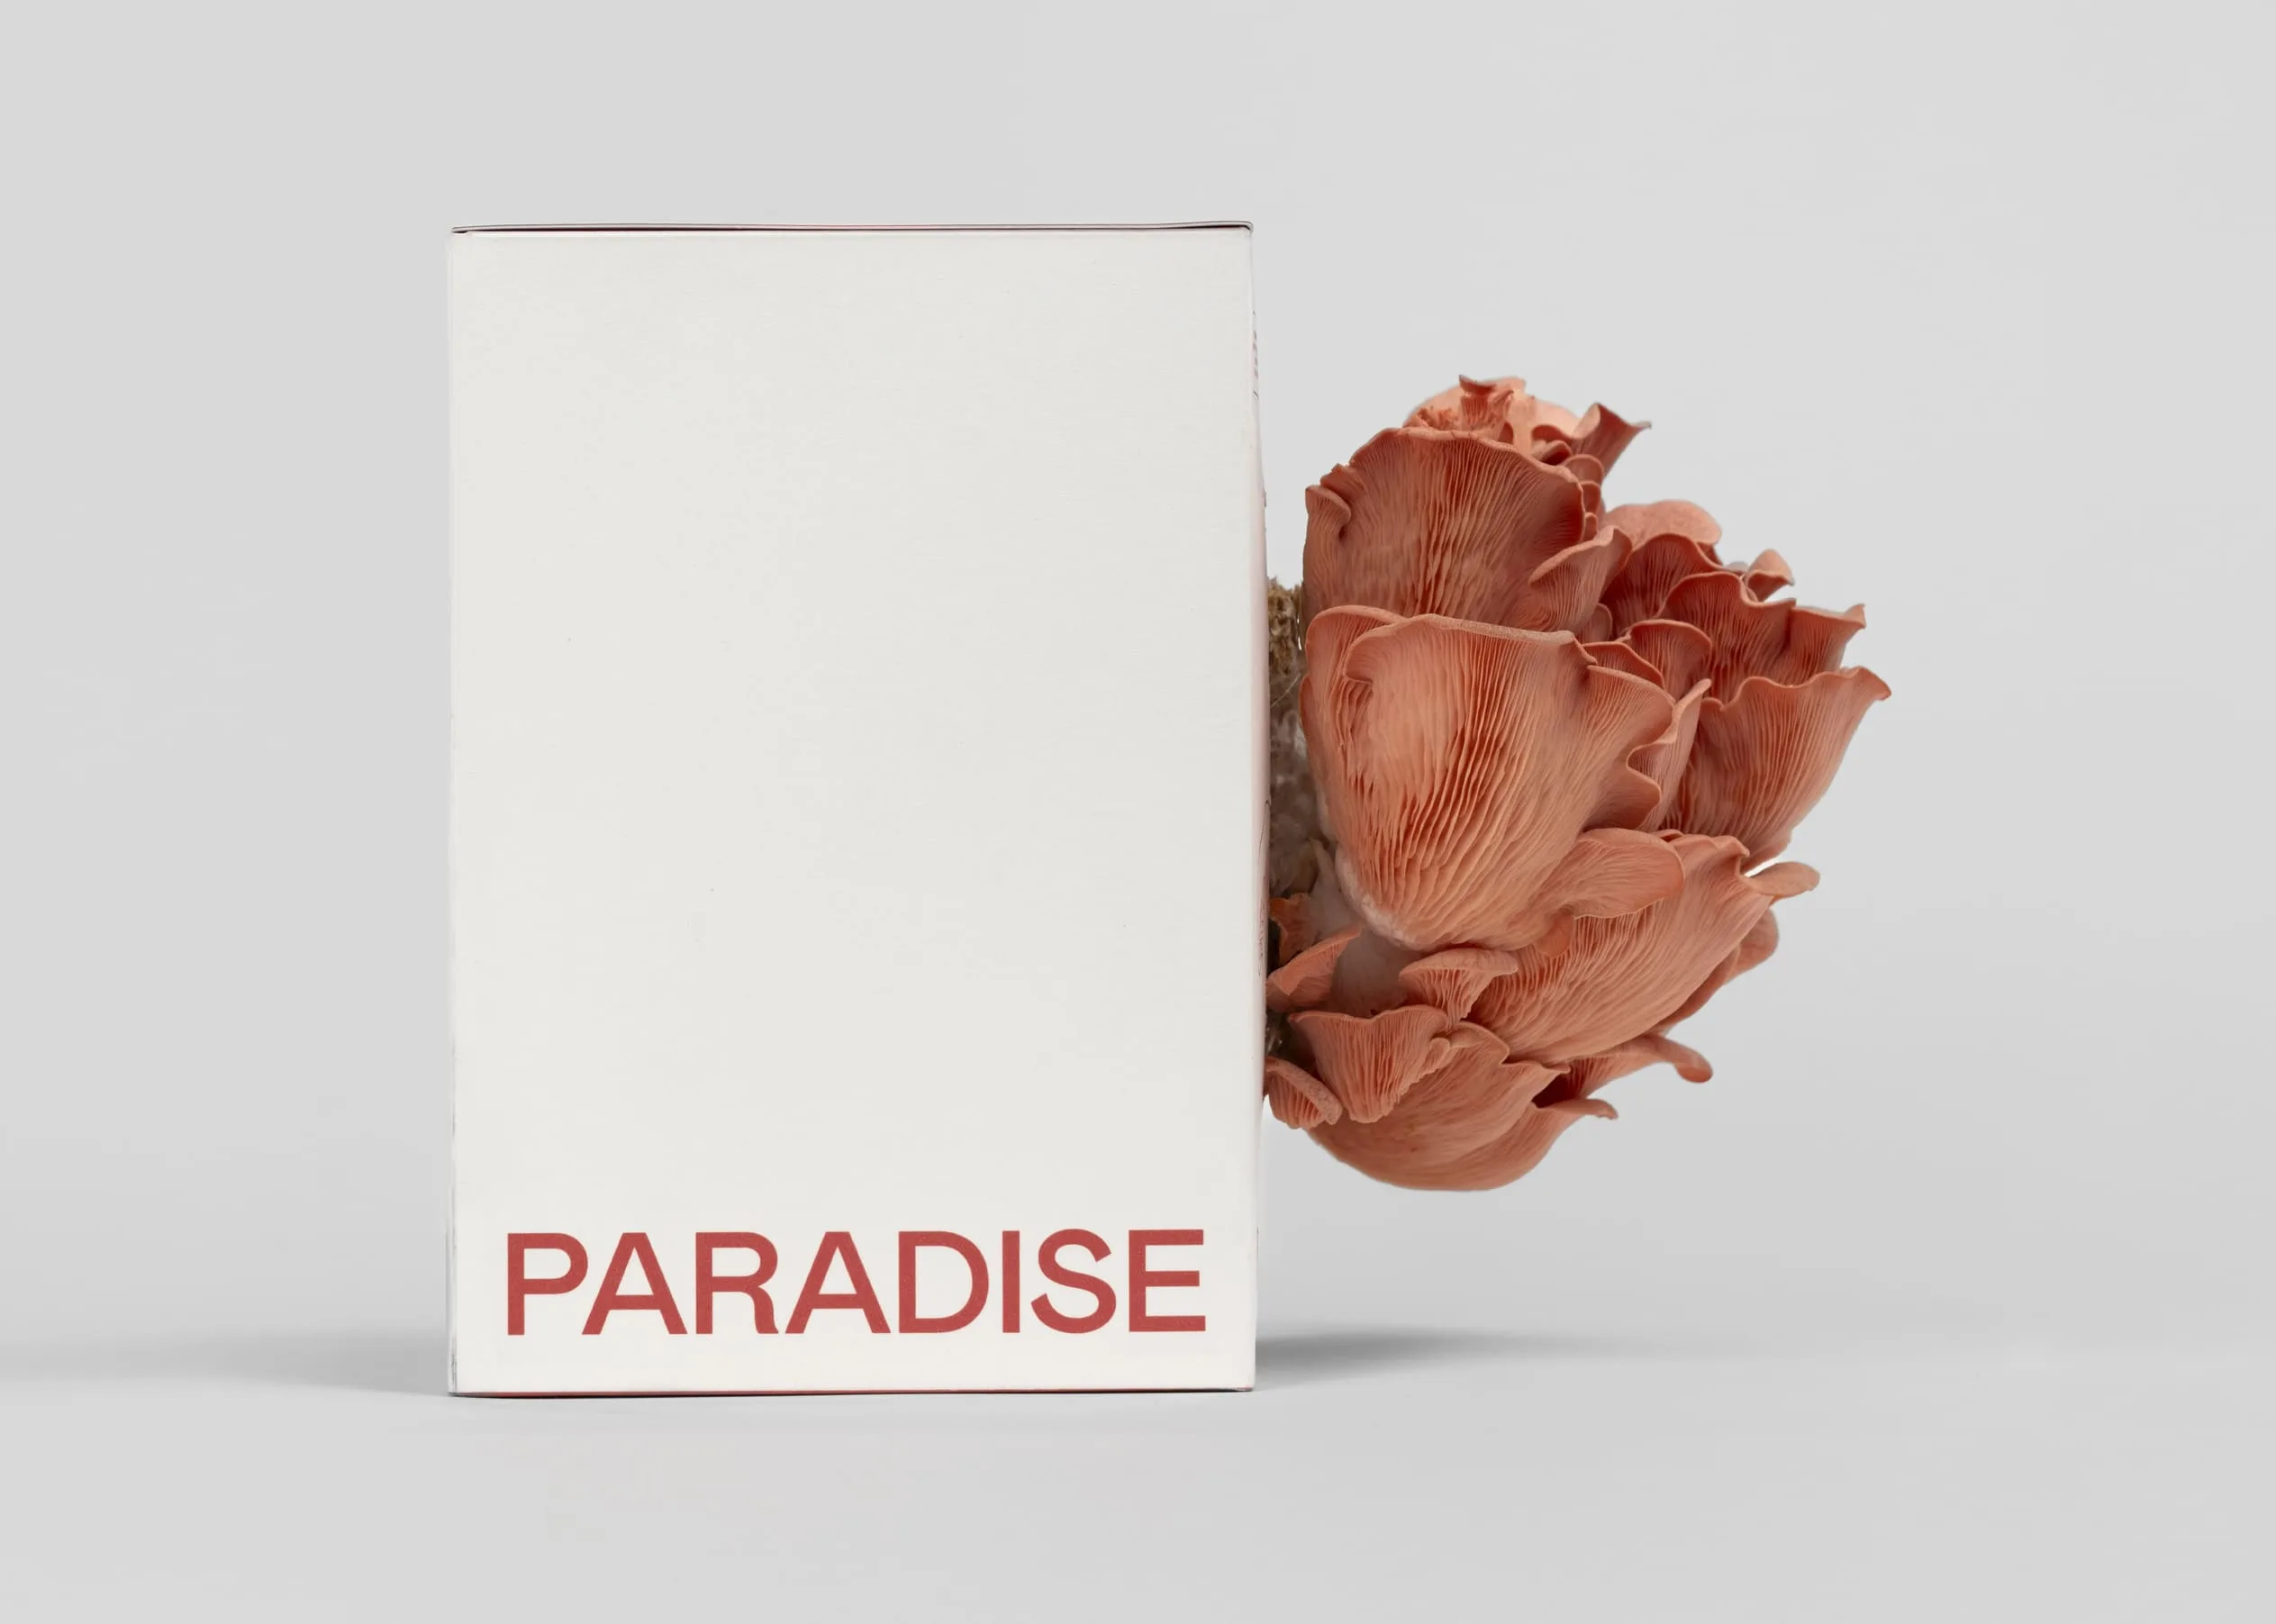
Renowned for their unique taste and meaty texture, pink oyster mushrooms boast a striking color that makes them a culinary delight. They are an excellent meat alternative for vegetarians and vegans. Enjoy your harvest quickly—these mushrooms are best within 48-72 hours.
Begginer
500 g / 400 g / 300 g
21°C
5-9 days
PINK OYSTER MUSHROOM GROW KIT – SIZE M
This medium-sized Pink Oyster Mushroom Kit is the perfect starting point for beginners looking for sizeable harvests.
Pink oyster mushrooms aren’t just easy to grow—they’re incredibly flavorful, beautifully vibrant, and fast-growing. A rewarding experience for any beginner, these stunning mushrooms can start to appear as soon as 5 to 9 days after setup.
With their meaty texture and savory flavor, pink oyster mushrooms make an excellent plant-based meat alternative, perfect for vegetarians and vegans. The compact size of the kit allows it to fit seamlessly into tight spaces like kitchen countertops, while the durable box packaging ensures safe handling, protection, and lasting freshness for a smooth, hassle-free growing experience.
HOW TO CARE FOR YOUR PINK OYSTER MUSHROOM KIT?
With proper humidity and consistent care, your kit can yield large, bountiful mushroom flushes:
- Misting: Spray the block with water 2 to 3 times a day to maintain optimal moisture.
- Temperature: Keep the growing area at a steady 18-21°C and away from direct sunlight.
- Multiple harvests: Under the right conditions, your kit may produce up to three harvest cycles, offering extended enjoyment and delicious mushrooms.
WHAT’S IN THE BOX?
- Nutrient-enriched, fully colonized block: A substrate of hardwood sawdust, wheat bran, and water, pre-colonized with mycelium. No inoculation is needed; ready for mushroom cultivation.
- Humidity bag: The sawdust block is packed inside a protective humidity bag, which keeps it moist and shields it from contamination.
- Durable box: Compact and sturdy, the box not only holds the kit together but also brings a funky detail to your interior setup.
UNPACKING INSTRUCTIONS:
- Open the front flap of the box.
- Cut an “X” into the plastic bag covering the sawdust block.
- Spray the exposed surface with water 2 to 3 times daily and watch your mushrooms grow!
Note: The block may develop a soft, white, mold-like layer on its surface—this is completely normal and indicates healthy, active mycelium, the fungal network that fuels your mushrooms’ growth.
CARE TIPS
- Maintain humidity: Consistent moisture is essential, but avoid overwatering. The surface of the block should feel slightly damp, not wet, to prevent rot.
- Multiple harvests: Proper care may reward you with multiple flushes over time, offering extended yields.
STORAGE INSTRUCTIONS:
Not ready to start growing right away? You can store the kit:
- At room temperature: Up to 2 weeks.
- In the refrigerator (4-6°C): Up to 1 month.
However, note that prolonged storage may cause mushrooms to begin sprouting inside the filter, which could slightly reduce yields.
This compact yet powerful Pink Oyster Mushroom Kit is ideal for both beginners and experienced growers, bringing the beauty of gourmet mushroom cultivation to your home.
Each kit is lovingly produced on a small, family-run farm in the scenic Kaunas district of Lithuania.
nutritional value (100 g)
Calories
Fat
Saturates
Sugars
Salt
Protein
Carbs
Fibre
What’s in the UNGU box?
Inside, you’ll find a pre-colonized substrate block, a humidity bag, and a short growing guide. It’s all packed conveniently and ready for your first harvest.

How to open it properly?
Tear open the box lid where marked. Then, using a clean knife, cut an X-shape into the plastic packaging at the same spot. The block is ready to grow – keep it in the same position as in the box.

Care tips
Mist the block with clean water 2–3 times per day. Avoid direct sunlight, heat sources, and drafts – mushrooms prefer a cool, bright, and humid environment.

Storage tips
If you’re not ready to start growing yet, keep the kit in the fridge (+1 to +5 °C) for up to one month. Important: do not remove it from the bag and store it horizontally.


FAQ
Get answers to common questions about growing, maintaining, and troubleshooting your mushroom kits for successful cultivation.

Kadangi jūsų UNGU grybų auginimo rinkinyje yra gyvas organizmas, geriausia jį aktyvuoti iškart gavus. Tačiau, jei reikia palaukti, rinkinį galima laikyti vėsioje, sausoje vietoje, atokiau nuo tiesioginių saulės spindulių, arba šaldytuve iki šešių mėnesių.
Svarbu: Pink Oyster (rožiniai austrių grybai) jautrūs šalčiui ir neturėtų būti laikomi žemesnėje kaip 4 °C temperatūroje. Vietoje šaldytuvo juos geriau laikyti rūsyje, sandėliuke ar kitoje vėsioje, pavėsingoje vietoje.
Visų mūsų rinkiniuose esančių grybų rūšys yra labai gyvybingos, todėl laikant keletą savaičių jos gali pradėti derėti dar maišelyje. Tai visiškai normalu, tačiau gali nustebinti – todėl ir rekomenduojame tinkamą laikymą bei greitą aktyvavimą!
Jei prieš atidarant maišelį pastebite keistas spalvas (žalią, juodą) arba nemalonų kvapą, susisiekite su mumis ir atsiųskite nuotraukų. Mes įvertinsime situaciją ir, jei reikės, atsiųsime jums naują rinkinį. Sveikas rinkinys turi turėti baltą arba rusvą micelį, persipynusį per rudą substratą, ir skleisti malonų žemišką kvapą.
Jei grybų blokas atvyko pažeistas, dar yra vilties! Dažnai tai nutinka dėl transportavimo metu patirto purtymo. Kol blokas dar yra maišelyje, rekomenduojame švelniai suspausti jį atgal į formą ir leisti jam šiek tiek atsistatyti prieš pradedant vaisiakūnių formavimą. Tai gali užtrukti apie savaitę. Jei maišelis jau atidarytas, švelniai spauskite bloką atgal ir būtinai palaikykite jo drėgmę. Rekomenduojame naudoti drėgmės palapinę: paimkite šiukšlių maišą ar kitą didelį laisvą maišą, prikarpykite daug 1–1,5 cm skersmens skylučių – grybams reikia šviežio oro! Uždėkite maišą ant bloko ir kasdien purkškite vidų. Kai pradėsite matyti mažus grybų daigus („pinning“ stadija), maišą galima nuimti ir toliau purkšti patį bloką.
Jei blokas atrodo „negyvas“ arba niekas nevyksta, gali būti kelios priežastys. Lion’s Mane (liūto karčiai) micelis natūraliai yra labai švelnus ir gali būti sunkiai pastebimas – ypač lyginant su austrių grybais. Jei turite liūto karčių rinkinį ir blokas laikosi vientisas, tikėtina, kad micelis tiesiog nėra labai matomas. Kitų rūšių atveju gali būti, kad blokas transportavimo metu suskilo ir jam reikia šiek tiek laiko vėl suaugti. Duokite jam kelias dienas, palaikykite drėgmę ir stebėkite, ar micelis tampa labiau pastebimas. Mes garantuojame, kad visi mūsų rinkiniai pradės derėti per dvi savaites, o jei ne – atsiųsime jums pakaitinį rinkinį.
Jei jūsų blokas atrodo sausas ir dar nepradėjo duoti vaisiakūnių, pabandykite naudoti drėgmės palapinę (šiukšlių maišas su skylutėmis). Kasdien purkškite vidų ir stebėkite – kai tik pasirodys grybų daigai, maišą galima nuimti ir toliau drėkinti bloką.
Jei net naudojant drėgmės palapinę blokas vis dar atrodo sausas, arba jei blokas jau davė derlių vieną ar du kartus ir išdžiūvo tarp derlių, galite jį „atgaivinti“ pamirkydami vandenyje. Išimkite bloką iš dėžutės ir leiskite jam mirkti (pjūvio puse žemyn) vandens dubenyje:
– kreivabudėms – apie 1 valandą,
– liūto karčių grybams – 10–15 minučių (juos stebėkite, nes micelis yra jautresnis, o per ilgas mirkymas gali pažeisti bloką).
Po mirkymo bloką švelniai nusausinkite ir grąžinkite atgal į dėžutę. Toliau purkškite 2–3 kartus per dieną, o jeigu gyvenate sausesniame klimate – galite purkšti šiek tiek dažniau.
Jei jūsų grybų daigai (pins) nustojo augti, greičiausiai priežastis yra per maža drėgmė. Nesijaudinkite – jūsų rinkinyje vis dar yra pakankamai maistinių medžiagų, kad grybas sėkmingai augtų!
- Kaip vėl įjungti augimą: Grybų auginimo rinkinio atgaivinimas
- Pašalinkite sudžiūvusius daigus nuo bloko.
- Leiskite blokui pailsėti ant lėkštės apie savaitę, kad šiek tiek išdžiūtų.
- Pamirkykite bloką šaltame vandenyje 20 minučių.
- Jei naudojate rinkinį, kuris auga maišelyje, nusausinkite perteklinį vandenį.
- Pradėkite auginimo procesą iš naujo, kaip darėte pradžioje.
Geresnis augimas naudojant drėgmės palapinę
- Jei anksčiau nenaudojote drėgmės palapinės, rekomenduojame ją pasidaryti šį kartą.
- Drėgmės palapinė sukuria drėgną mikroklimatą, kuris yra idealus grybų augimui.
- Norėdami ją pasigaminti, uždėkite laisvą plastikinį maišą (su daug 1–1,5 cm skylučių) ant bloko ir kasdien purkškite maišo vidų.
Kai tik pradės formuotis nauji grybų daigai, nuimkite palapinę ir toliau purkškite bloką 2–3 kartus per dieną, kad jis išliktų drėgnas. Su šiomis priemonėmis jūsų rinkinys netrukus vėl pradės sėkmingai auginti grybus!
Grybų derliaus nuėmimas yra paprastas! Vadovaukitės šiais žingsniais, kad pasiektumėte geriausią rezultatą:
- Švelniai pasukite ir traukite – laikykite grybų kuokštą prie pagrindo ir švelniai sukite, kol jis atsiskirs nuo bloko.
- Arba naudokite peilį – jei norite, grybus galite nupjauti prie pagrindo aštriu peiliu.
- Sutvarkykite – pašalinkite nuo bloko likusias atlūžusias dalis ir prieš gaminimą nupjaukite nuo grybų likusį pjuvenų sluoksnį.
Po derliaus nuėmimo ir toliau purkškite bloką, kad paskatintumėte kitą grybų bangą!
Deja, grybai nesidaugina gerai, kai auginami tiesiai iš grūdų grybienos. Nors kai kurie grybai gali išaugti, derlius bus labai mažas.
Geriausia naudoti grūdų grybieną tam, kad inokuliuotumėte didesnį substrato kiekį, pavyzdžiui:
- Kietmedžio pjuvenas
- Mėšlą
- Kompostą
- Šiaudus
(Įdomus faktas: austrių grybai auga ant visų šių substratų!)
Jei norite lengvesnio auginimo patirties namuose, rekomenduojame išbandyti Grybų auginimo rinkinį – jis jau būna visiškai kolonizuotas ir paruoštas grybų auginimui.
Kaiščių grybiena kolonizuojasi lėčiau, tačiau yra labai atspari. Jai reikia tik grąžto ir plaktuko, todėl tai puikus pasirinkimas mažesniems projektams ir pradedantiesiems. Tai taip pat ekonomiškesnis variantas, jei ketinate inokuliuoti tik keletą rąstų.
Pjuvenų grybiena kolonizuoja rąstus maždaug 30 % greičiau nei kaiščių grybiena, todėl geriau tinka didesniems projektams. Vis dėlto tam reikia inokuliacijos įrankio ir papildomos įrangos, jei norite paspartinti procesą.
Jei neturite prieigos prie miškingos arba pavėsingos vietos, pjuvenų grybieną galite naudoti ir „totemo metodu“ – tam nereikia jokių specialių įrankių.
Geriausia palaukti 1–2 savaites prieš injekuojant į maišelį. Tai suteikia laiko pastebėti galimas problemas, kurios galėjo atsirasti transportavimo metu, ir padeda išvengti sporų ar kultūros švirkštų švaistymo.
Jei pastebite užterštumą ar kitus nesklandumus, susisiekite su mumis el. paštu info@theungu.com – mielai padėsime!
Since your UNGU Mushroom Grow Kit contains a living organism, it’s best to activate it as soon as you receive it. However, if you need to wait, you can store the kit in a cool, dry place away from direct sunlight or keep it in the refrigerator for up to six months.
Important: Pink oyster mushrooms are sensitive to cold and should not be stored below 4°C. Instead of refrigerating them, keep them in a cellar, pantry, or another cool, shaded spot.
All the mushroom species in our kits are highly vigorous, so if stored for a few weeks, they may start fruiting inside the bag. This is completely normal, but it can sometimes catch people by surprise—hence our storage and activation recommendations!
If you notice any strange colors (green, black) or foul smells before opening your bag, please get in touch with some photos. We’ll be able to determine if something happened in transit and get you a new kit. A healthy kit should have white or off-white mycelium weaving through its brown substrate and have a pleasant earthy smell.
If the mushroom block is broken upon arrival, there’s hope yet! We often see this as a result of jostling around in transport. While it’s still in the bag, we recommend gently pressing the block back together and allowing it some extra time to bounce back before cutting it open to start the fruiting process. It may take about a week to re-establish itself. If your bag is already open, gently smoosh it together as best you can and make sure to keep the block moist. We recommend using a humidity tent. Take a trash bag or other large loose bag and cut lots of ½” holes throughout – mushrooms need fresh air to form correctly! Drape the bag over your block and mist the inside of the bag every day. When you start to see baby mushrooms form (pinning), you can remove the bag and keep misting the block.
If your mushroom block looks “dead” or like nothing is happening, there are a few possible causes. Lion’s mane mycelium is notoriously fine and often appears very light or unnoticeable – especially compared to oyster kits. If you have a lion’s mane kit and the block holds together, the mycelium may be difficult to see. For other kits, it’s possible the block was broken up in transit and needs some time to grow back together. Give it a few days, making sure to keep it misted, and see if the mycelium becomes more noticeable. We guarantee all of our kits will fruit within two weeks, or we’ll send you a replacement.
If your mushroom block seems dry and hasn’t produced any mushrooms yet, try using a humidity tent. Take a trash bag or other large loose bag and cut lots of ½” holes throughout – mushrooms need fresh air to form correctly! Drape the bag over your block and mist the inside of the bag every day. When you start to see baby mushrooms form (pinning), you can remove the bag and keep misting the block.
If your block still seems dry using the humidity tent or if your block has produced once or twice and dried out in between, you can give it a boost by soaking it in some water. Take your bag out of the box and let it soak, cut side down, in a bowl of water for an hour for oysters. Let a lion’s mane kit soak for 10-15 minutes and keep an eye on it, the mycelium of these mushrooms tends to be more delicate so soaking for too long can result in your block disintegrating. Pat the block dry before putting it back in the box. Mist as you would 2-3 times per day, a little extra if you live in an arid or dry climate.
If your mushroom pins have stopped developing, low humidity is likely the cause. Don’t worry—your kit still has all the nutrients needed to grow mushrooms! Here’s how to get it back on track:
Reviving your mushroom grow kit
- Remove dried-up pins from the block.
- Let the block rest on a plate for one week to dry out slightly.
- Soak the block in cold water for 20 minutes.
- Drain any excess water if using a kit that grows inside the bag.
- Restart the process as you did initially.
Using a humidity tent for better growth
- If you didn’t use a humidity tent before, consider adding one this time.
- A humidity tent creates a moist microclimate, ideal for mushroom growth.
- To make one, drape a loose plastic bag (with small ½-inch holes) over the block and mist inside daily.
- Once new baby mushrooms (pins) start forming, remove the tent and continue misting 2-3 times per day to keep the block hydrated.
- With these adjustments, your kit should start growing again soon!
Harvesting your mushrooms is simple! Follow these steps for the best results:
- Gently twist and pull – hold the mushroom cluster near the base and spin it until it releases from the block.
- Or use a knife – If you prefer, you can cut the mushrooms at the base with a sharp knife.
- Clean up – remove any loose bits from the block and trim off any sawdust from the mushrooms before cooking.
After harvesting, keep misting your kit to encourage another flush of mushrooms!
Unfortunately, mushrooms don’t thrive when grown directly from grain spawn. While some may eventually fruit, the yield will be very small. Instead, grain spawn works best when used to inoculate a larger substrate like:
- Hardwood sawdust
- Manure
- Compost
- Straw
(Fun fact: Oyster mushrooms will grow on all of these!)
For an easier indoor growing experience, try a Mushroom Grow Kit —it comes fully colonized and ready to grow.
Plug spawn is slower to colonize but very resilient. It requires only a drill and hammer, making it a good choice for smaller projects and beginners. It’s also the more economical option if you’re inoculating just a few logs.
Sawdust spawn colonizes logs about 30% faster than plug spawn, making it a better choice for larger projects. However, it requires an inoculation tool, along with other equipment if you want to speed up the process. If you don’t have access to a forested or shady area, the totem method using sawdust spawn can be a good alternative, and no special tools are needed.
It’s best to wait 1-2 weeks before injecting your bag. This allows time to spot any issues that may have occurred during shipping and helps avoid wasting spores or culture syringes. If you notice any contamination or problems, reach out to us at info@ungu.lt for assistance.
hello academy
Read our blog to uncover the secrets of mushroom cultivation— from spore to gourmet. Master the art of growing, harvesting, and cooking like a pro!
BEGINNER'S GUIDE
If you’ve already mastered the art of growing beginner-friendly mushrooms, it’s time to flex and dive into the world of Golden Oysters, Black Pearl Oysters, and Lion’s Mane mushrooms.

INTERMEDIATE'S GUIDE
Are you a mushroom-growing virgin? No worries! Our beginner-friendly guide will help you start with a grow kit and harvest your first mushrooms with confidence.

PROFESSIONAL'S GUIDE
Grow your own harvest from scratch. This guide covers the essential tools, inoculation techniques, and best practices for harvesting mushrooms.

GUIDE TO SHIITAKE
Here you’ll find tips on how to cultivate Shiitake mushrooms: from selecting the right log to harvesting and enjoying your homegrown mushrooms with tasty recipes.

GUIDE TO CHAGA
A comprehensive guide to cultivating Chaga mushrooms: learn how to select the right birch trees, inoculate Chaga spawn. You’ll also discover some of the most popular recipes to enjoy your harvest.

GUIDE TO REISHI
Learn how to grow medicinal Reishi mushrooms from setup to harvest and explore various ways to enjoy their health benefits. This guide covers everything you need to know about growing Reishi mushrooms.

Recipes
Need inspiration for your mushroom harvest? Discover delicious recipes and creative ways to cook your homegrown mushrooms.